Showing posts with label dogs. Show all posts

Monday, October 9, 2017

Catching Up


Even though I haven't updated here in, ahem, awhile - I have still been very, VERY busy sculpting.

A finally finished, packed and shipped the complete rabbit portrait collection back in August.


In addition, I also finished up several other commissions including my first cat:


As well as several more bunnies.


My biggest accomplishment, however, was my top secret project:


A surprise wedding cake topper for my little sister's medieval, Skyrim, GOT themed wedding.


I first had the idea when they got engaged nearly a year ago, even though I had so many other projects to complete.

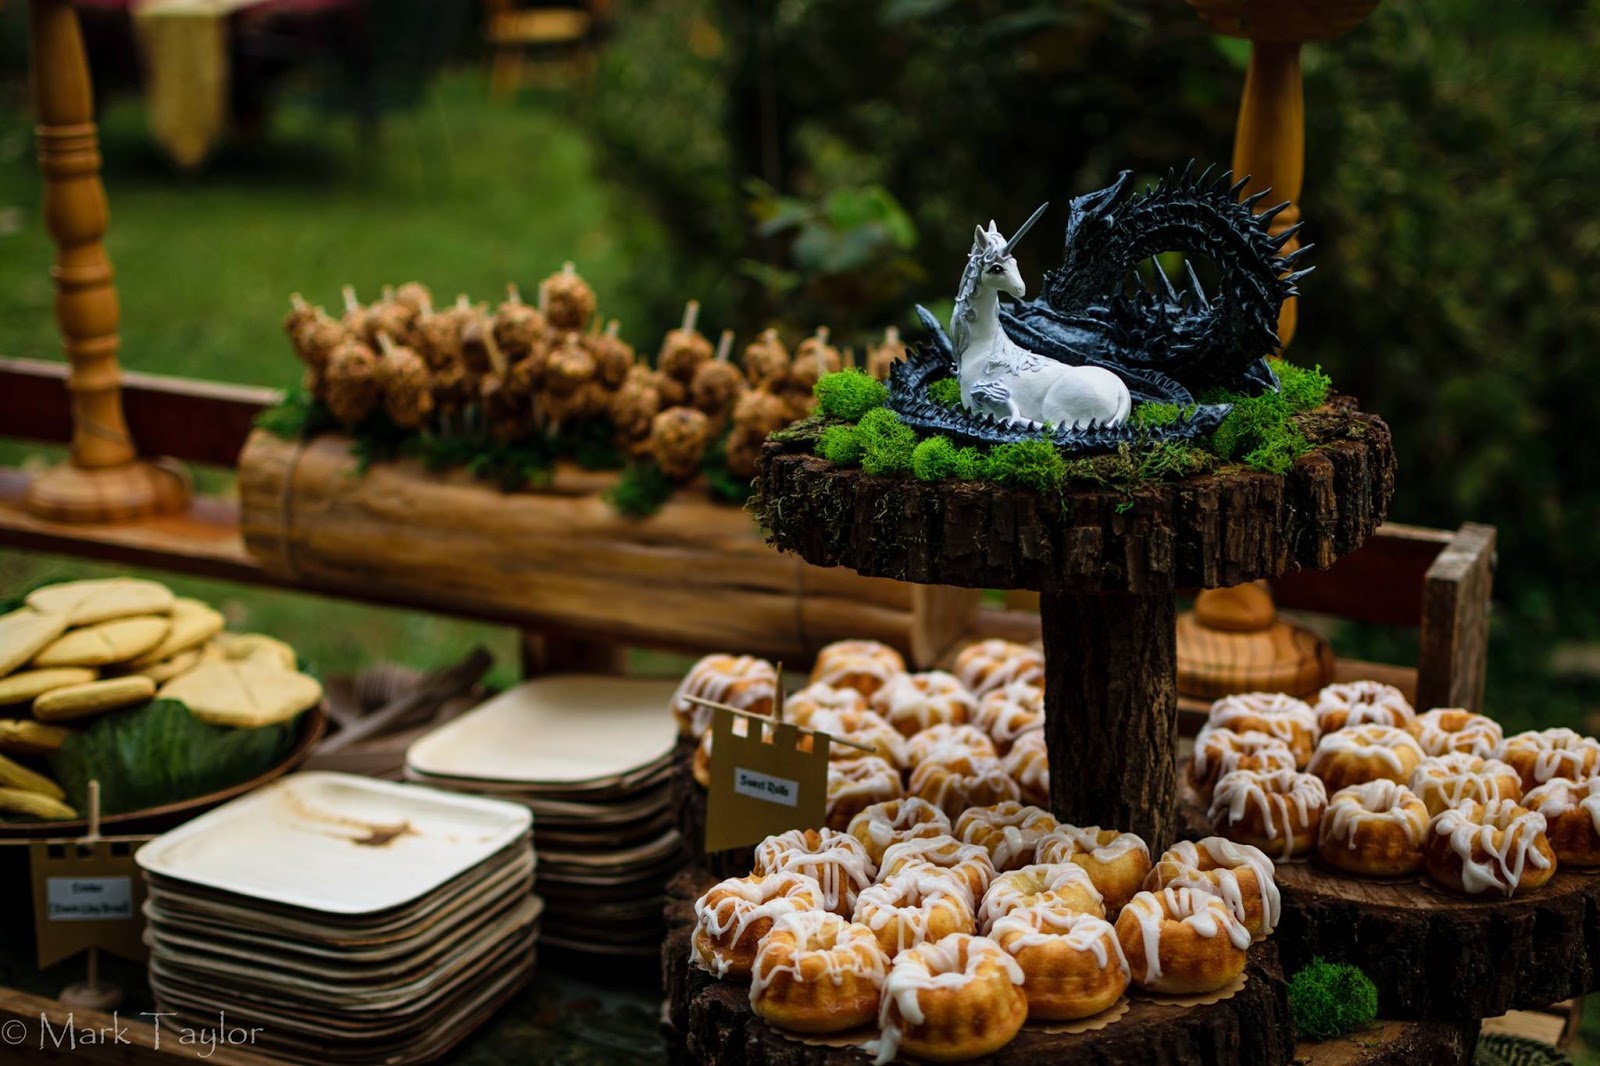
The Last Unicorn was (and still is) one of our favorite movies growing up, and my brother-in-law had requested an Alduin sculpture some time ago, but I never had time to make it.


And I was just dying to make a fantasy piece!

I'll make a separate post detailing how I went about it.


I BARELY finished it in time, but am pretty happy with it overall.

As if that wasn't enough, I also agreed to make them some polymer clay crowns for the big day.


They weren't too bad, considering I hadn't made anything like them before.


My sister's turned out a little better than her groom's, since his was my first attempt.

I will also include a post on how I created the crowns.


One of my goals for next year is to try not to take on so much at once. I am really bad at saying no!

So next on my agenda are 6 dog portraits and whatever other commissions come my way.

I'm not sure if I'll ever have time to sculpt extra pieces for my Etsy shop, but we'll see how this winter goes.

It has been one C-R-A-Z-Y summer, and I am looking forward to a little sculpting "downtime" once the weather turns cold..... [taps foot].... anytime now......

Just wanted to give a quick update!


Monday, June 20, 2016

Long Hair Technique


This is by far my favorite technique with polymer clay!

I got inspiration from my alltime favorite clay artist, Evgeny Hontor.


He is such anamazing artist, I could spend hours looking at his work.


He works with velvet clay, an air-drying variety that isn't widely available in the US.

It's a simple technique of shaping individual pieces and applying them one by one. It's very time-consuming, but it creates a very interesting and fluid effect.

My dragon sculpture pales in comparison, but I used this hair effect for that piece as well.


Here is how I went about it for my poodle sculpture...


The basic sculpture was Premo polymer clay layered over a foil armature and baked.

I then added the tail hair and fur texture, leaving the ears for last. (If you would like to see how I created the poodle fur texture, go here: POODLE FUR TUTORIAL.)


Baked, cooled and ready to start...


As always, I recommend Premo.


You will also need some liquid Sculpey to help the raw clay adhere to the hard surface (any liquid polymer clay will do).


The only other tools you will need are a ball stylus and a needle tool.

Prep your work surface by brushing on some liquid Sculpey. Take a small piece of well-conditioned clay and roll out a thin snake, shaping one end to a point.


Use the needle tool to cut the piece the length you want it...


 ...and starting at the end, apply it to the surface, using the ball stylus to attach.


If you wish to give the piece a bit of wave or curl, gently touch the end to your work table to shape it.

You can also use your stylus to press upwards on the pieces to help shape and arrange after they are in place.

Continuing from the bottom to the top, repeat the process until you are satisfied with the way it looks.


It may help to bake your piece intermittently to preserve your work, especially if you are clumsy and tend your knock your sculptures over (points to self).


And that's it!

This basic technique can also be used for applying feathers, scales or other pelage types.


I hope you have found this tutorial helpful. I welcome questions and comments! Thank you for joining me...


HAPPY SCULPTING!


Wednesday, June 15, 2016

Poodle Fur Tutorial


One of my commissions earlier this year was a custom portrait of a miniature poodle.

Creating the fur textures was a fun experiment, and I was pleased with the result.

This tutorial is for polymer clay, although you don't want to try it with your run-of-the-mill Sculpey.

The type of clay you want for this is Premo or Fimo.

I use Premo, and have had great results with it in my sculptures. It is strong, flexible after baking, yet very easy to work and holds detail very well.


It comes in a wide range of colors, but I stick to white since I paint my pieces.

You will also need a liquid polymer clay, such as liquid Sculpey.


The tools you will need for this technique are pretty simple.


You will need a small metal ball stylus and a small paintbrush.


The basic sculpture has already been baked at this point. It's easier to apply the other details without messing up your previous work. Working in sections, brush on some liquid Sculpey to a small area.


Tear off a small piece of  well-conditioned clay and flatten it out.


Spread over the area. pressing it in well.


Brush on more liquid Sculpey to moisten the clay (you want it to be pretty goopy and malleable).


Take the smallest end of your ball stylus and begin poking.


Keep poking until it begins to look like this.


It's best to bake after completing each section to help preserve your work.

And that's it!


This technique could also be applied to other animals with woolly type coats (sheep, alpacas, etc.), or even human hair.

Please don't hesitate to post any questions or comments below. Thank you for joining me!

HAPPY SCULPTING!